I have been reading all over the net about Air Cannons and the startling effect that they have and I decided to build one. An Air Cannon is a large air tank connected to a valve which allows you to exhaust the pressured contents of the tank instantly creating a large booming noise.
This is the first pneumatic prop that I have made and I am pretty happy with the results. There are many different ways to build these but here is how I built mine.
Hardware:
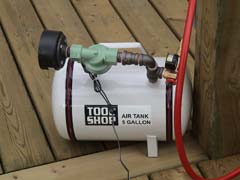
5 gallon air tank
Orbit Watermaster 3/4″ Sprinkler Valve (model 57100)
1/2″ x 2″ long iron pipe (threads both ends)
1/2″ x 2″ long iron pipe (threads both ends)
3/4″ x 2″ long iron pipe (threads both ends)
3/4″ x 2″ long iron pipe (threads both ends)
 1/2″ iron pipe “T”
1/2″ iron pipe “L”
1/2″ x 3/4″ iron pipe adapter
2/3″ flange
1/4″ quick connect air fitting
3″ ABS end cap
3″ x 24″ long ABS pipe
4 small nuts and bolts
24v wall adapter
plumbers tape
adjustable wrench
Recipe
First empty any pressure that may be in the tank from the testing at the factory. It won’t be much but bleed it off all the same. Remove the air pressure gauge and valve from the tank and set the unit aside as you will need it later. Clean the threads in the hole in the tank and screw in one of the 1/2″ x 2″ pieces of pipe. Remember to wrap all threaded pieces with plumbers tape. Next, screw on the “T” fitting tight with the wrench so that the middle port of the “T” faces the rear of the tank. In the top of the “T” insert the “L” fitting and tighten so that the open port of the “L” faces the front of the tank. Insert your second 1/2″ x 2″ pipe into the “L” and tighten. Onto that pipe attach the 1/2″ x 3/4″ adapter (tighten). Insert you first piece of 3/4″ x 2″ pipe (yes…. tighten it).
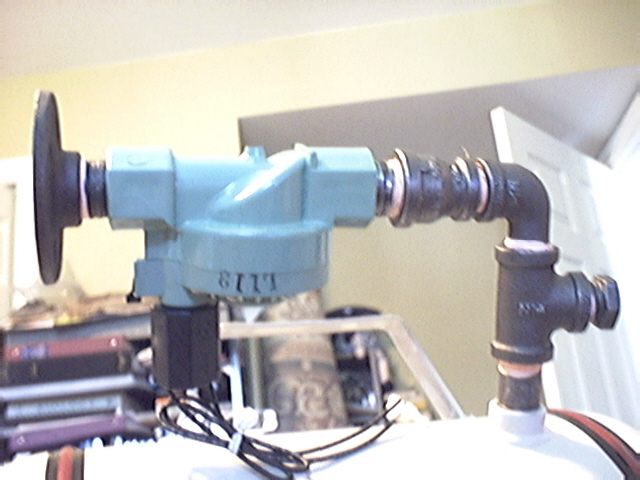 Now this is where you will be attaching your sprinkler valve. Look closely at the ports on the valve and you will see an arrow on each one, both going in the same direction. This is the direction of your air flow. Make sure you attach the valve the correct way so the air travels with the arrows as it leaves the tank. Hand tighten the valve onto the pipe so as not to crack the plastic. In the other end of the valve screw in your last piece of 3/4″ pipe and screw your flange onto the end. You should now have something that looks like this:
Take the brass valve/gauge that came with the tank and screw it into the middle port of the iron “T”. Into the port on the valve insert a quick connect air fitting.
*** the advantage to using this gauge is that it has an over pressure blow-off valve that will blow when the tank exceeds it’s pressure rating. This could be a good thing one day.
Attach your ABS end cap to the iron flange using 4 small nuts and bolts. Into this end cap you can slide your 3″ ABS pipe (don’t glue it in or you will lose the choice of using it or not).
That’s about it! Your done! I tested this at 80 PSI (I haven’t gone higher yet but I have no reason to believe it can’t handle 125 PSI since the valve is rated for 125 PSI). Below are two tests using the pipe and not using the pipe. I like the sound of both but the pipe gives it a deeper blow sound.

Supplies:
Air Tank and Valve – Menards Hardware
ABS, Iron Pipe and Fittings – Canadian Tire
Power Supply – Home Hardware
Inspiration:
$20 Air Cannon – Deathlord (a.k.a. Wil)
Concussion Canon – Deathlord
Air Cannon – Darkside Productions (Brad C. Wulfsberg)
Air Cannon – Creep Crypt